Welcome to my Blog

Welcome everyone, I hope to inspire you and share some of my papercraft work. You can find out where I teach and what I am up to, what inspires me and what I am working on next. I love to share new ideas and neat ways of adding creativity to your pages or cards etc

my blog

Thursday, March 22, 2018

Sue Smyth Unicorns live


Unicorn wall art 
and Mini Dragon Eggs


Well this year certainly is the year of mythical creatures, unicorns, dragons and mermaids are everywhere. I kid you not, my daughter and I went shopping earlier this year and every single shop had something Unicorn in it, even the make up shop, unicorn make up. I looked hard to see if I could use it as paint lol. I have always loved mythical things, from early school years I was fascinated with the Greek and Egyptian gods and legends. We have an extensive DVD collection of all the fantasy and legend style movies. Later in Art College I loved the  work of Brian Froud one of the collaborators on Dark Crystal and Labyrinth, he has books available featuring his work and illustrations of Faeries, and the wee folk. This was the inspiration for last months post "the Spriggan". This month I have used the Kaisercraft unicorn and this just lends itself to alteration and applying chipboard to the surface. I hope you like it and are inspired to create one for yourself.  

The finished piece would be neat hung on the wall or as I do, placed on an easel, it would also be awesome framed in a large frame for someone very special. I loved it so much I have done two, one in pink and one in teal my favorite colour.
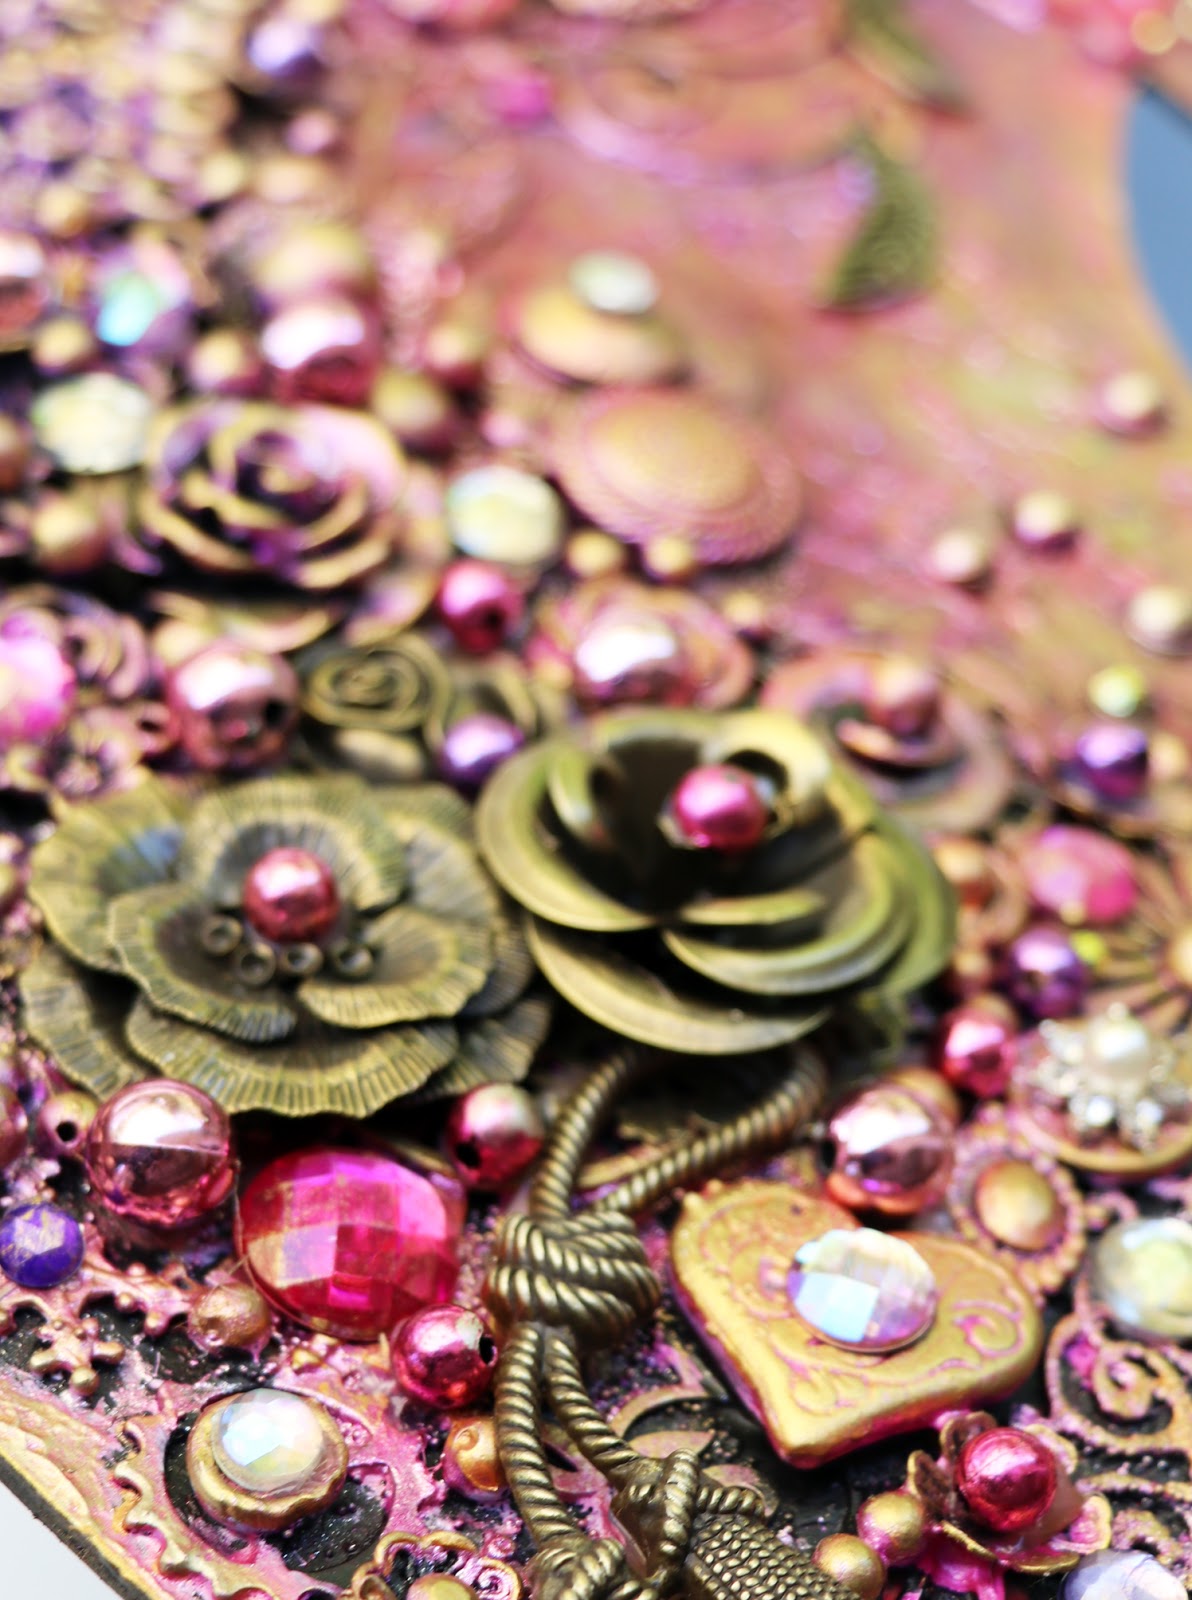

I have layered the surface with lots and lots of texture with the last
layer being metal trinkets and jewels. This is the chance to use 
up old jewelry, beads and earrings making each unicorn unique, which is kind of 
fitting.


The mane is covered with gel medium and seed beads, then I have added a layer of pony beads to add even more dimension.


The last layer of trinkets is the chance to use clustering rules to create a mat of shiny texture that work as a whole.


Here you can see the layer of chipboard, this creates base texture and a platform for you to work from, when you add the next layers.


Here is the teal version, this time I have done the mane a little different using texture paste instead.


I have left more of the chipboard base layer showing in the teal 
version. Some elements I have painted black, and appplied gold wax , like the resin rose and others I have left alone like the metal rose, but they all have one thing in common "gold" and this is why they work as a group rather than a mish mash of colour.


I have raided my jewelry supplies and added shiny beads and buttons.


An old faux wax seal, makes the perfect eye, layered over with an iridescent button


I just love the ID feathers peeking out, which I have given an ombre look with Inka Gold paint.


Even the gold beads are given a splash of turquoise to make them suit the colour scheme. So always think outside the box when adding colour and shape.


Dragon Eggs

My next project is one of my favourite things to do, make dragon eggs, and since it is near Easter, what better thing to do. Though my eggs don't look like the ones you will want to eat lol


This time I have used smaller styro eggs than I usually do, so the challenge was to find things small enough to adhere to the surface. Luckily Imaginarium make a whole lot of chipboard in mini sizes, which is always something to keep in mind.


They all fit in this Faux nest perfectly


First is a dragon egg, the resin dragon is heated with a heat gun to 
help it mould to the side of the egg, then adhered onto it
with gel medium.


The Second egg, has ID chipboard clock on the top, I have sprayed it with a little water to help it mould to the side of the egg, and adhered to the egg with gel medium.


The Third egg, is just a mish mash of ID chipboard scrolls over the surface, adhered with gel medium, and I have then wrapped it with tissue paper, this helps the chipboard 
stay adhered and the bonus is you can handle the egg better while wet.


The Fourth egg, has some ID chipboard dragon flies and plastic snakes added to it along with some bling and pearls. 


I love how when you heat the styro foam just a LITTLE it puckers 
like dragon scales.

Here is a mini tutorial, and tips on how to make 
dragon eggs.


Start with stryo eggs.


Snip up and dampen chipboard, adhere to surface with gel medium and then cover with scrunched up tissue paper. 


Here you can see how I have kept the items in place until the medium sticks, I have used pins on the plastic snakes (they stay in place ) and rubber bands over the chipboard. 
Then paint with black gesso and dry off carefully.
then layer over your paint and inka gold of choice.
I like to finish with some bling and Vintage gold Alchemy wax to 
add more sparkle and shine.

Some of the chipboard I used.


Happy Crafting


Wednesday, February 21, 2018

Mythical Creatures By Sue Smyth


What is a Spriggan?
By Sue Smyth 

You may well ask what is a Spriggan? For those that know me, I grew up on a farm...ahemmm some years ago, outside Brisbane. At that time there was no electricity, running water or phone, so we where somewhat isolated.
But this meant as children we had endless freedom. Freedom to run around the Bush, Rivers and Streams of the property. I had several favorite haunts on the farm, one was a deep hole in the ground made by the decaying of an old tree, tucked away under a stand of wattles it was shaded and protected. Moss covered the surface, lots of little tiny flowers would bloom from time to time, and minature mushrooms would sprout after rain.We could literally lay in this depression and pretend we were in another world. Some other spots, were a large patch of lemon scented tea tree and on the crest of the hill a patch of floating granite rocks that were flat and smooth, covered with moss and lichens. On cool evenings we would jump from rock to rock, sometimes at dawn you could also see foxes and even hares playing on the same spot lol.
Perhaps this explains why I love natural world so much, yes Bugs and Butterflies, I know they are not everyone's cup of tea, but I love their shapes and design lines, rather than their nature lol. But I also
love the mythical world, the world of imagination and folklore. I was always curious about the "little people" and we would often search for "evidence" of their existence, I think the closest I came to finding them, was in early summer time at the back of our farm we had a well, and the callistamen trees were covered in hundreds of "thumbelia" green tree frogs. This is my long winded way of saying I am again curious about the mythical world, and this seems to have replaced my penchant for bugs lately...So my first official project for the year is a altered book celebrating the Spriggan...

spriggan, a singular borrowed from the Cornish plural spyryjyon 'spirits' is a legendary creature known from Cornish faery lore. Spriggans are particularly associated with West Penwith in Cornwall.


The story behind this book, is that I wanted to do more with mythical creatures, and elves in particular. So at Christmas time I carefully picked apart one of my elf dolls, and with 
a little trickery ..made a mold. Then I could set a resin head to use,  this is what started an altered book on Spriggans.


Here you can clearly see the elf head, first I painted it black to give 
clear defined lines in the face, kind of like you do in a cartoon.


I have added a set of resin wings, these are dragon wings but I think they suit for all creatures mythical right.


I love using the mini alphabet to make solid little labels, you will 
see this trick on a lot of my work. It is a great way of 
getting a custom title with out a lot of fuss.


Here I wanted a frame to surround my side lock, but could not find one that fit perfectly. So I have use ID corners and snipped off some of the overhanging
bits, I think it works fantastically well.


I love tucking things under the layers, here you can see the large 
ornate key I have tucked in. And the those neat little rustic domes are actually gum nut lids, I love bringing in the natural world lol.


I wanted the spine to have some interest too, and since I chose a really really think old hardback novel I had room to play, this is just chipboard rectangles that have been adhered 
to the spine first. Then I have scrunched up tissue paper and 
applied it to the cover and spine with Gel Medium for that textured almost leather look.


A lot of the neat ID chipboard gets lost on the front, but under the head I have an oval frame and a square frame (adhered to a piece of custom chipboard)
I needed some kind of sturdy base for the head and a place to tuck in the wings, key and moss. 


You can see how I painted the entire book with black gesso and then with metallic purple paint.
This seems bold, but as you know adding more layers will cover 90 percent of this, with only a little of the black and purple showing through.


I have then decorated my book by rubbing layers 
of metallic waxes over top. This is the step that takes the book in any direction I want it to, just by adding more of one colour or another. I have complete freedom here to change the colours or adjust them to what I like. This time I highlighted the purples, greens and graphite of the spectrum. I have hidden the bottom of the spriggan with faux moss, and a tangle of black cotton.

I hope you like my new addition to my altered book
collection and here is a few of the Chipboard pieces I have used.


Edward Relief Corner IDC0008


Oval Swirly edge Frame IDF0031


Leah Frame IDFR0034


Swirly Corners IDC0002

and of course 


main letter set (small )
IDA0006

Thanks for visiting and 
Happy Crafting 


Thursday, December 21, 2017

Christmas Cheer for Imaginarium


Altered Pringle Tins and Bauble 
By Sue Smyth 


I love to recycle, and pringle tins are one of  the best 
and most rewarding things to  decorate.
 I wanted to do 
a Christmas theme but not so much that I could not 
use this throughout the year.


I was after an ornate look, as if it might be an artifact 
or piece from a royal palace, so  I knew gold would be in the mix lol.


I simply adore how the antique beads came up. I have 
used cheap gold and coloured beads and rolled
them in a dish of Alcohol ink
Here I have used Mushroom and Cranberry to give 
them an aged look. They remind me of  mercury glass I think.
I have also used a cheap plastic snowflake decoration
as the base for the tree tin.


I have decorated the front with ID frames and sunbursts
then set a jewel or resin rose
in the centre, I just could not resist
adding a sweet bird trinket too.


This is a pringle tin, and I have used 
a fibre bristle tree on top, but I have sprayed it 
red with Dylusions post box red.
Then I have brushed Dimensional magic (or glue)
over the bristles and rolled it in gold 
glitter!!! It looks superb in real life.


This tin is a Chai tea tin ( I have sprayed the inside with 
black spray paint to disguise any marks left inside)
The finial on tip is an old Christmas tree topper.
I have sprayed it with matt black spray paint
and rubbed over with Alchemy gold 
wax.

Check out how I achieved the texture on the surface 
on my mini tutorial below 


Antique Bauble 


My next project uses much the same techniques as above but 
with a few twists.


This gorgeous bauble uses ID border chipboard 
and two doiley chipboard shapes.


I wanted it to look good no matter what angle you
looked at it.


Then I have layered a large filigree trinket with a sunburst
Chipboard. then a ruby gem.
Around the edge I have added dimensional magic 
and some beautiful red micro beads, I have 
used a pointed tool to mooch them into 
shape. I also love the mirror glass shards
that I randomly adhered to the spikes of the 
chipboard.


I started with just an ordinary foam bauble from
Kmart...costing 2.00 


I snipped out the centre of the doily so it would 
fit over the bauble top.


Then with texture paste (as this has more grabbing power on round 
objects) I have glued the chipboard onto the bauble.
The tip is to spray the chipboard with a little water
first, then it will mold nicely to the shape.
Then add rubber bands to hold in place while it dries.


Once texture paste is dry, paint with black gesso.


Then paint with orange Dylusions paint, leaving 
little bits of black showing.


Then I have rubbed over Inka Gold, in Copper, and Red.


Then I added a little Metallic Red and Gold Alchemy wax 
because I liked the colours.
Over top of that add more gold paint rubbing over the 
raised areas and decorate as above to finish.

Altered Tins Tutorial 


These are the humble containers I started with.


Add a generous amount of texture paste.


Then add some trim to the top and bottom and stipple 
the texture paste, then I have used 
glass beads. just at the top and bottom not the middle.


Spray the border chipboard with a little water and
wrap around the tin, add a rubber band to hold in place.


I have done the same for the second tin.


When Texture paste is dry, paint them black with gesso.


Then paint over with orange dylusions paint. I have used
orange because it is close to gold in colour and 
I wanted an over all gold humm.
Then rub over with Red, copper and gold inka gold
to finish and decorate the front and lids as you like.


Happy Crafting 
and a Very Merry Christmas to you all
thank you for following my crafty projects throughout 
the year and I hope I inspired you all 


Sue Smyth