Welcome to my Blog

Welcome everyone, I hope to inspire you and share some of my papercraft work. You can find out where I teach and what I am up to, what inspires me and what I am working on next. I love to share new ideas and neat ways of adding creativity to your pages or cards etc

my blog

Friday, March 21, 2014

imaginarium


Magic Exists Mask 
by Sue Smyth 


For my project this month, I have made a mask, this is kind of a 
play on the Venetian masks, complete with loads of texture, feathers
and rhinestones.


Close up of butterfly and leaves, I have used embossing
powders to cover these, see the tutorial 
below.
The word magic is simply covered with black glitter.


The mask is attached to a long pole, I simply
pinched a bamboo stake from the garden
painted it black and randomly 
stamped a crackle stamp
across it.


I purchased a pre-made mask from a cheap store.
Then adhered lots of chip shapes to the surface. You 
may have to wet some of the shapes to be able 
to bend them to the shape of the mask.
Add some pearls and beads to the surface and paint the 
lot with gesso.


Then choose your favorite ink colours and spray the 
darker colours on the outside and lighter on the middle
and inside.


To alter the peacockk feathers, spray blue with mist or paint, then
apply liquid pearls over the top of the surface.
Apply lines of blue first, then blend in lines of 
green and purple as desired. Allow to dry.


For the butterflies, paint with black spray paint or ink 
first. Dab liberally with Versa Mark embossing
fluid.

Randomly sprinkle with different coloured embossing 
powders.

 Heat set, add more powder and colour if needed and allow to cool.


The result is amazing, kind of like an iridescent look so
like a butterflies wing.
Attach butterflies and feathers along with ribbons to
mask. Add rhinestones as desired.


Chipboard  I have used 


Adore layout 
by Sue Smyth 


This butterfly concoction is inspired by the Monarch Butterfly.
I love the colours, dramatic black with vibrant orange so I have used
the large Imaginarium butterfly along with smaller ones and the 
butterfly border to make a butterfly layout.


Just like the mask I have painted the butterfly with black paint, then 
covered with Versa mark and random sprinkles of embossing powder.


For the background I have used plain vanilla cardstock, I adhered the cut up
butterfly border to the top and bottom and painted with gesso.
Then sprayed vibrant orange Dylusions to create a splash of 
colour


Once the background is done,
 I have clustered flowers, trinkets and elements
 around swirls of rhinestones
and black chip flourishes.
Then I have sprinkled sequins, rhinestones and small elements
around the page to give the illusion of movement.

Chipboard I have used 


Happy Crafting everybody,
hope you give the embossing treatment a try and

Dont forget to leave a comment


Thursday, March 20, 2014

Couture Creations

Dreams have Wings 
by Sue Smyth


As you know I love making little off the page things, and this was 
inspired by something I saw on the web.
I knew with Couture Creations dies at the ready I would 
be able to do my own version of this 
heart token/mobile with wings.


The nicely embossed Secret Treasure Keys to my heart key die
was cut out of light weight chipboard and embossed with gold
emboss powder, for a 
luscious gold look try double embossing.


Secret Treasures Feather die is cut from white cardstock
and liberally coated with Pearl paint 
and Couture Creations Glitz n Glamour Crystallina 

Add a few beads and tassels to finish.

If you want to try this too, 
be sure to follow my step by step instructions below

And you may find another use for your emboss 
folders too!

You will need 


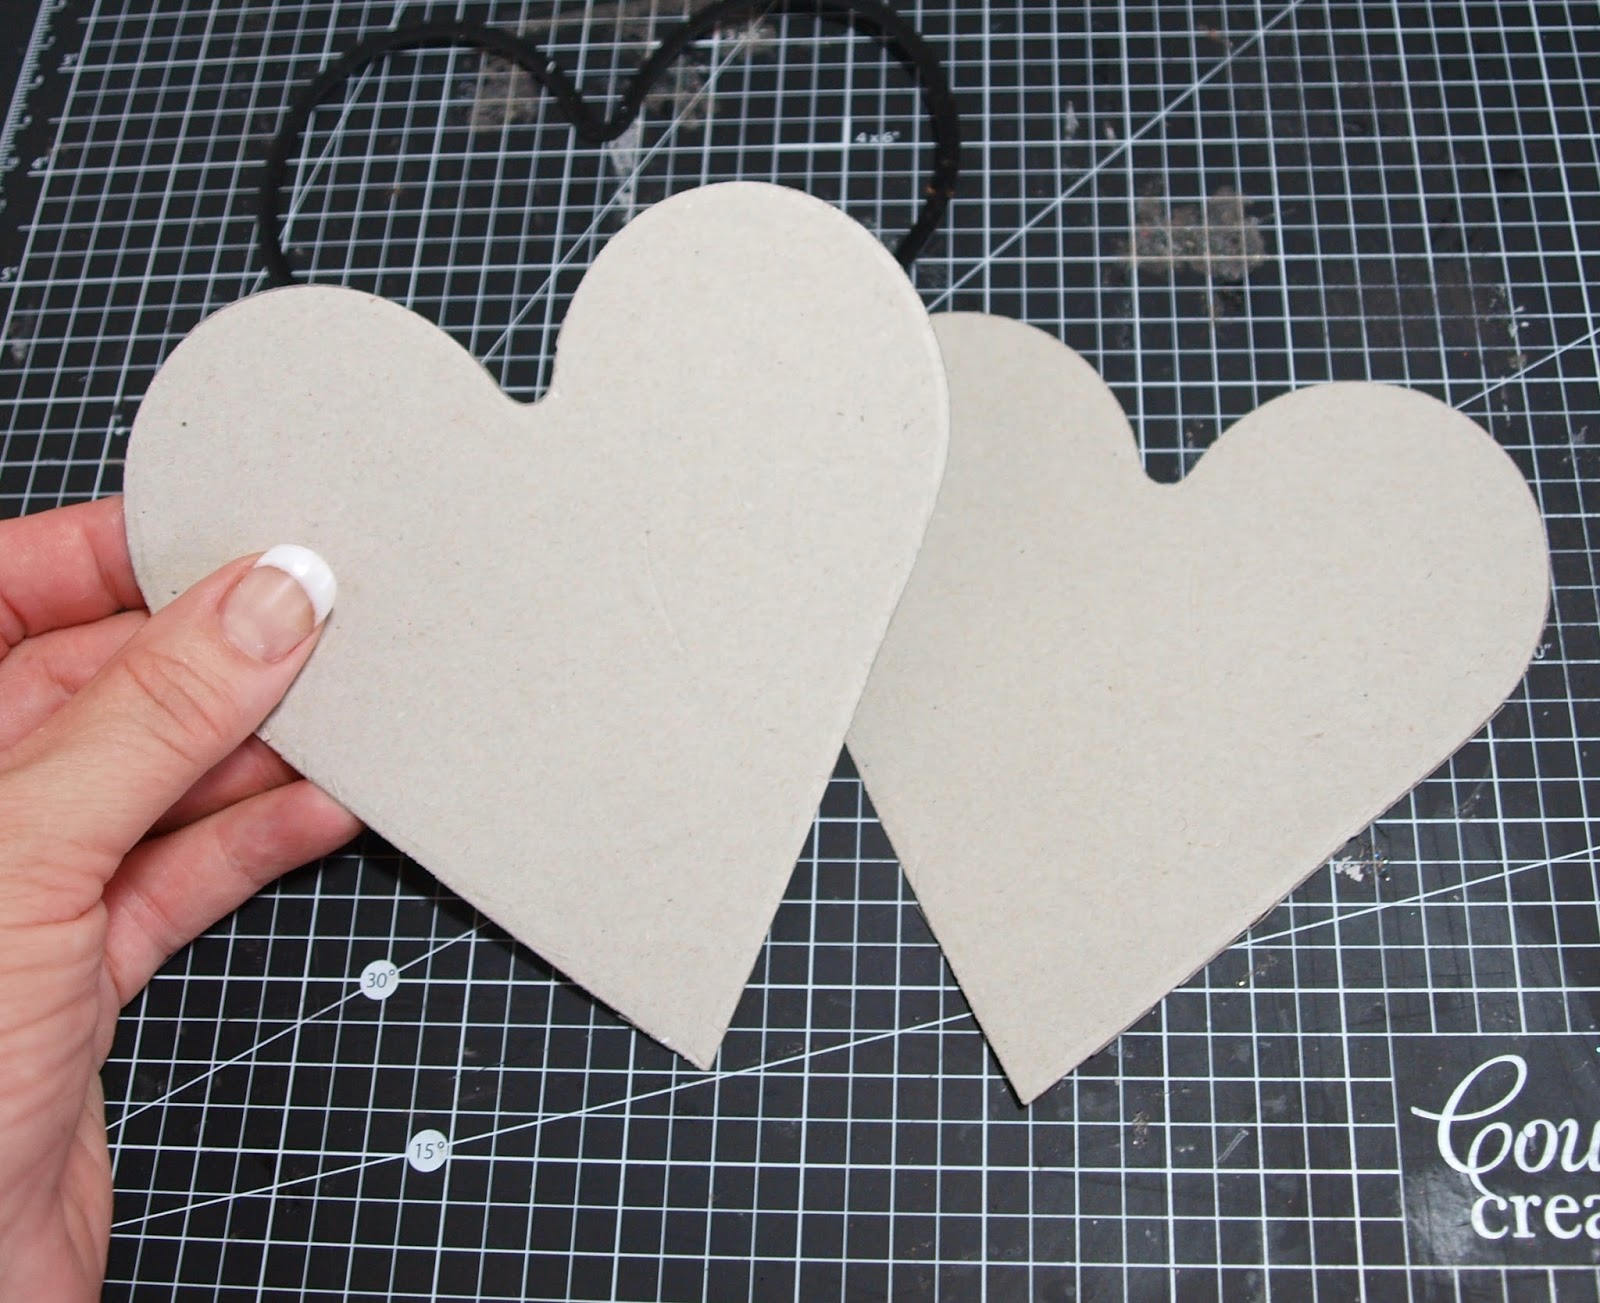
Cut 2 large hearts from medium weight cardstock and adhere 
together.


Cover with old book pages and adhere down with liberal 
amounts of Gel medium. Cover front and back


Ink around the outside with brown ink, and use Vine 
embossing folder as a stamp around the edges.
Make sure to was off ink immediately to clean well.


Dry brush with gesso, but do not cover the stamped images.
When gesso is dry, cover whole heart in 
crackle medium and allow to dry


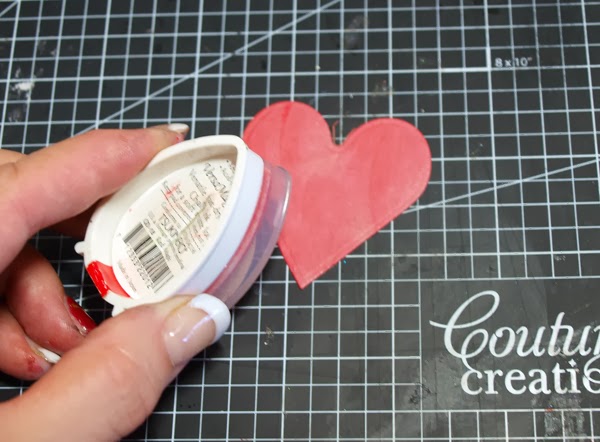
Die cut a smaller heart from chipboard and cover with red ink.


Coat with a crackle medium and allow to dry.


Cut 8 Feathers from white cardstock and paint with pearl paint
when dry cover with Glitz n Glamour Crystillina, set 
aside to dry  


Spritz large heart with a little red glimmer spray, wipe off excess if needed
Adhere smaller heart
into the centre with 3 D foam tape as pictured. 
Rub black ink into red heart, then 
coat with Red Glitz n Glamour 


Insert a gold eyelet into the top and bottom of the heart, you
may need a crop-a-dile for this.
Then adhere wings to the sides of the large text heart.


Decorate the heart with a chip butterfly, paper flowers and a 
personalized banner.
Add embossed Key and Couture Creations Moonlight 
adhesive pearls.
Also add beads and tassels as pictured to complete your
own Dreams have wings token.

Happy Crafting 


Wednesday, March 5, 2014

Couture Creations

Birthday Bird House 
by Sue Smyth 


Hi all, I love to make little off the page gifts and decorator pieces. 
This standing bird house used everyday items and along with Couture Creations dies
is so easy to do. Just follow the step by steps below. 


I have used a small terracotta pot, which I have 
painted with gesso and misted with coloured sprays.
I like to flick over other colours 
to give the pot an aged mossy look.


Just add a faux birds nest and bird to the top of the pot, along
with moss, feathers and die cut leaves and sticks. 


You will need
Couture Creations materials


To start with, hand draw a bird house shape, if 
you struggle, just down load a template from the net.
Trace onto thick chipboard.


Smear the bottom of the house with texture paste and stamp 
with Couture Creations Harmony Vine embossing folder.
Allow to dry.


Make sure you clean the folder immediately, with water 
and a sturdy brush.


Paint the pot, chip house and a sturdy stick with white gesso too.
Allow to dry.


Now spray with a selections of mists, I have used a 
coffee and olive spray. When dry
brush over with a little gesso to highlight the 
raised texture paste.


Cover the roof with wide Couture Creations tape and peel off.
with Couture Creations hand held pointed tool.


Cut four or five Scalloped rectangles from a terracotta 
cardstock. Trim off the long ends of each.


Layer over the tape and overlap each strip, just
like a tiled roof. Keep layering until roof is covered.


Flip over and trim off excess with
 Couture Creations Hand held scalpel tool


Swipe gesso over scalloped roof, use Couture Creations hand held pointed tool to flick 
up each little scallop to resemble a roof top.


Cut a small Scallop circle and a ordinary Nested circle from scrap
cardstock and layer with 
Couture Creations 3 D foam tape attach to front of bird house.


Cut Couture Creations fences die from White cardstock and adhere to 
top of painted pot. Layer thick braid below the 
fence. Attach with a hot glue gun for 
an instant bond.


Attach a nice generous organza bow. 


Decorate pot with paper roses, faux bird nest and bird, feathers and leaves cut with 
Couture Creations Ivy leaf die from green cardstock.


Adhere house to painted stick( I have inked and painted
the stick too) and insert into pot.
I have wedged a large piece of stryofoam
or oasis into the pot to 
hold the stick secure.


Add finishing touches like a scroll with happy birthday, tiny daisies
and moss and painted sticks. Make some hand made flowers with
 Couture Creations Secret Treasures Retro flowers die and 
a brad. Adhere to the top of the house.
You can personalize it to your taste and to that of recipient. 

And there you have it your own birthday bird house.

Happy Crafting