
Create your Dreams
By Sue Smyth

Hi Bloggers
I have been so busy of late, so I only have one project for you, but hopefully
you will love it. I made it before the silly season commenced
so I have loads of photos and a tutorial for you to make up for it lol
I was inspired by a layout I saw on the net, by Nina Roganova
And in the layout the designer used a lot of green and
embroidered around her photos.
I thought I would try to replicate that look with chipboard
and I think it work really really well! Almost too well!

I purchased a bottle of Moss paint, this is a two pack system
and I so wanted to use it in this experiment. So the overall
look was of moss and spring green, with a pop of
colour from flowers.

Here I have used real moss to tuck under small flowers.
Because the colour is so strong you only need
small flowers to lift the look.

Here I have made a faux cloisonne butterfly.
1. Paint chip butterfly with white gesso
2. Paint over gesso with a metallic sparkly paint, thickly
3. Add swirls in a contrasting liquid or pearl drop paint.
4. Use a toothpick or bamboo skewer to swirl the paint into
the metallic paint.
5. Allow to dry.

I have added the moss 2 pack, to the bird and the chip thistles
it gives them a great texture and dimension.
I have added some to the back ground as well.

Then I have used some Art Stones on the background too,
I am in love with these as they look so real and natural.
They also can be coloured to suit if needed and go so
well with chipboard.

The title is just painted with matt black spray paint
then I have layered it over the photo and chip elements.

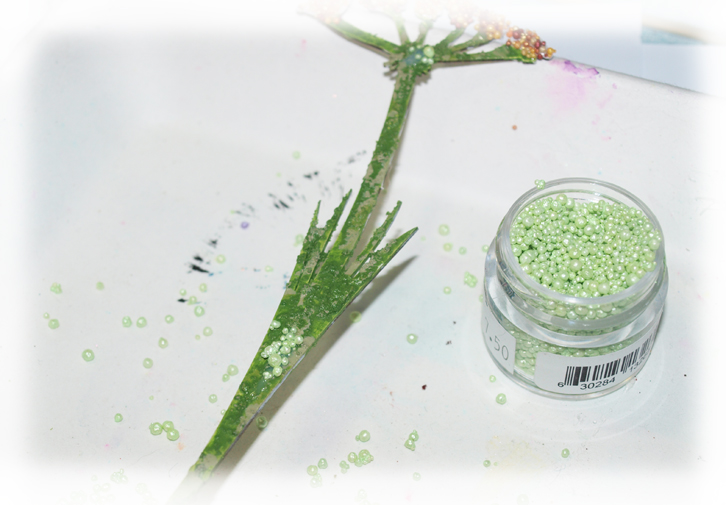
After I have painted the thistles with gesso and the moss 2 pack paint
I have added Dimensional magic to the tops and
sprinkled with micro beads or prills, they look so real, dont they?

The thistle in the back ground has lavender beads added
to create a neat contrast. Tuck real moss into the top of the photo.

The rips in the sides are perfect places to add tiny details
Here is how I made the background

Take a white or cream sheet of cardstock and spritz with water
then add drops of green dylusions spray or other brand if desired, just make
sure it is a strong colour.
Allow it to bleed and blend adding sprays of
water to move it around the page.

Then I have made a mask or stencil with the negatives
of chipboard.
Use tape to cover areas you don't want to spray, and cover the edges
with scrap paper so you get a clear image.

On a second sheet spray all of the weeds with the same ink.
A little tip if you want it paler, just dilute some of the ink
in a spare bottle.

Add sprays of water to allow them to blend and bleed.

Now add drops of green ink with a pipette until the big blogs
join together, keep playing until you are happy with it.

Then here is a great tip, if you have too much ink on the
page, scrunch up wet wipes and press down on the area.
Here I have weighted them down, on my first page to take away
some of the colour, this will give you
a neat marble look, try it next time on scrap cardstock first.

Now paint the chip with white gesso first.
Dry and then paint with 2 pack moss.

You can see the fibres and texture in the paint, which
creates the mossy look.
I think you could achieve a similar effect with flower soft or flocking?
What do you think?
I have added small prills or micro beads here and there
for yet more dimension.

Use Dimensional magic to add them as detail on the
thistles.
Then assemble page, I have layered my stenciled page
over top of the heavily sprayed page, and then torn
2 large V's in each side so you can see the spray below.
This makes a nice area to add details.
A lot of these techniques let the mediums do the work for you
it is just a matter of playing with them until
you are confident and then you can
predict what they might do, and use it to your advantage.
Give it a go!!
Happy Crafting !


