Welcome to Day 3 of the
Couture Creations & Imaginarium Designs Blog Hop!
We’re so excited to team up with Imaginarium Designs sharing inspiring projects created with both our products with you this week. What could be more perfect than our Embossing Folders
and Dies and Imaginarium Designs gorgeous Chipboard designs.
Each day this week we will feature our Design Team projects and over on the Imaginarium Designs Blog they will also feature their Design Team projects all created using Couture Creations and Imaginarium Designs products. So loads of inspiring projects for you to help get your creative juices flowing.
Each day this week we will feature our Design Team projects and over on the Imaginarium Designs Blog they will also feature their Design Team projects all created using Couture Creations and Imaginarium Designs products. So loads of inspiring projects for you to help get your creative juices flowing.
We will link to the tutorials on each Design Team members blogs, please show all our designers some love and leave a comment on their blog.
We’ll be giving away Two $100 prize packages filled with Couture Creations & Imaginarium Designs goodness at the end of the week, so
be sure to play along and check back on both Imaginarium Designs and Couture Creations blogs Monday 4th August 2014 to see if you’re one of
the lucky winners!
Here are the different ways you can play along with us –
Like Couture Creations on Facebook
Share this blog post on your Facebook wall and tell us you did on our Facebook page
Follow our Couture Creations Blog
Follow Couture Creations on Instagram
Hop over to
the Imaginarium Designs Blog and see what their Design Team has created using
their Chipboard and our Couture Creations products! They also have a giveaway,
so what are you waiting for – hop over! oh and don't forget to follow our Design Team Blogs
Here are today's Designers,

Sue Smyth

I have made my Wild Child layout with a mixed media style
with Couture Creations dies
Check out my previous post for the instructions to make the flowers.
Artdeco Lace Frame – CO723313
Gate to Eden – CO723748
Roses – CO723744
Siblings – CO723743
and

I have made my Wild Child layout with a mixed media style
with Couture Creations dies
Check out my previous post for the instructions to make the flowers.
Artdeco Lace Frame – CO723313
Gate to Eden – CO723748
Roses – CO723744
Siblings – CO723743
and

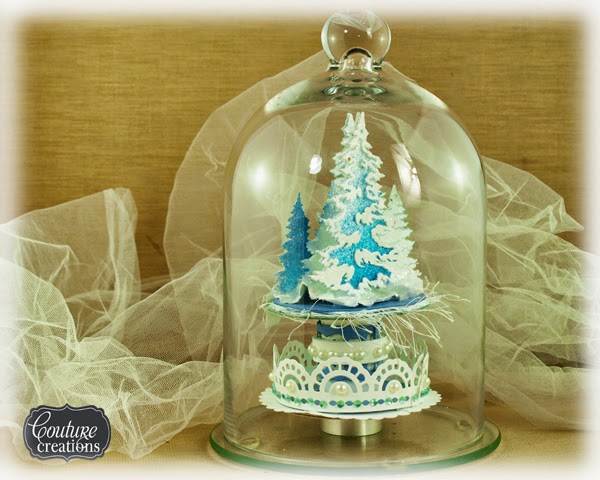
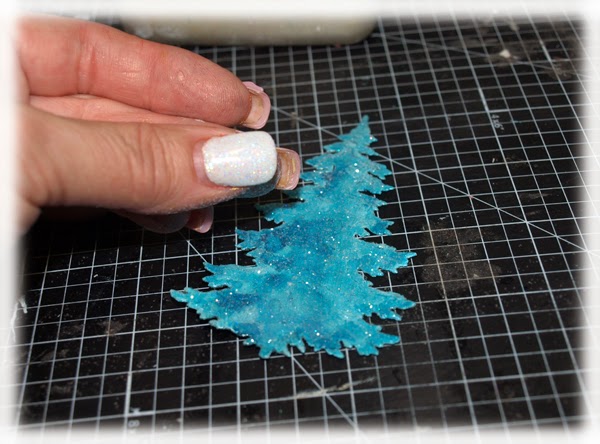
Romy and Evgenia
have created
have created
Don't forget to share the love